Selecting the Right Okra Seeds for a Successful Harvest
Starting Okra Seeds: Home Guide to Fresh Harvest
Okra is a versatile and nutritious vegetable that can be grown in your own backyard. Whether you are a seasoned gardener or a beginner, starting okra seeds is a simple and rewarding process. However, selecting the right okra seeds is crucial for a successful harvest. In this article, we will guide you through the process of choosing the best okra seeds for your home garden.
When it comes to selecting okra seeds, there are a few factors to consider. First and foremost, you need to decide on the variety of okra you want to grow. There are many different types of okra, each with its own unique characteristics. Some varieties are known for their high yields, while others are prized for their flavor or disease resistance. Take some time to research the different varieties available and choose one that suits your preferences and growing conditions.
Once you have chosen the variety, it is important to select seeds from a reputable source. Look for a seed company that specializes in vegetable seeds and has a good reputation. This will ensure that you are getting high-quality seeds that are true to the variety you have chosen. Avoid purchasing seeds from unknown sources or those that are past their expiration date, as they may not germinate properly.
Before starting your okra seeds, it is essential to prepare the soil. Okra thrives in well-drained soil that is rich in organic matter. Amend your soil with compost or well-rotted manure to improve its fertility and drainage. Additionally, make sure the soil is warm enough for germination. Okra seeds require a soil temperature of at least 70°F (21°C) to sprout successfully. If your soil is still too cold, consider using a black plastic mulch to warm it up before planting.
To start your okra seeds, sow them directly into the prepared soil. Plant the seeds about 1 inch deep and 3 to 4 inches apart. If you are planting multiple rows, space them at least 3 feet apart to allow for proper air circulation. After planting, gently water the soil to ensure good seed-to-soil contact.
As your okra seeds germinate and grow, it is important to provide them with the right care. Okra plants require regular watering, especially during dry spells. Keep the soil evenly moist, but avoid over watering, as this can lead to root rot. Additionally, mulching around the plants can help conserve moisture and suppress weeds.
Okra is a fast-growing plant that can reach heights of 4 to 6 feet. To support the tall plants, consider staking or trellising them. This will prevent the plants from toppling over and make harvesting easier. As the plants grow, you may also need to provide them with additional nutrients. Apply a balanced fertilizer every 4 to 6 weeks to promote healthy growth and maximize yields.
In conclusion, starting okra seeds is a simple and rewarding process that can be done in your own backyard. By selecting the right okra seeds, you can ensure a successful harvest. Consider the variety, source, and quality of the seeds before planting. Prepare the soil properly and provide the seeds with the right care as they grow. With a little patience and effort, you will soon be enjoying a bountiful harvest of fresh okra from your own garden.
Step-by-Step Guide to Planting Okra Seeds in Your Home Garden
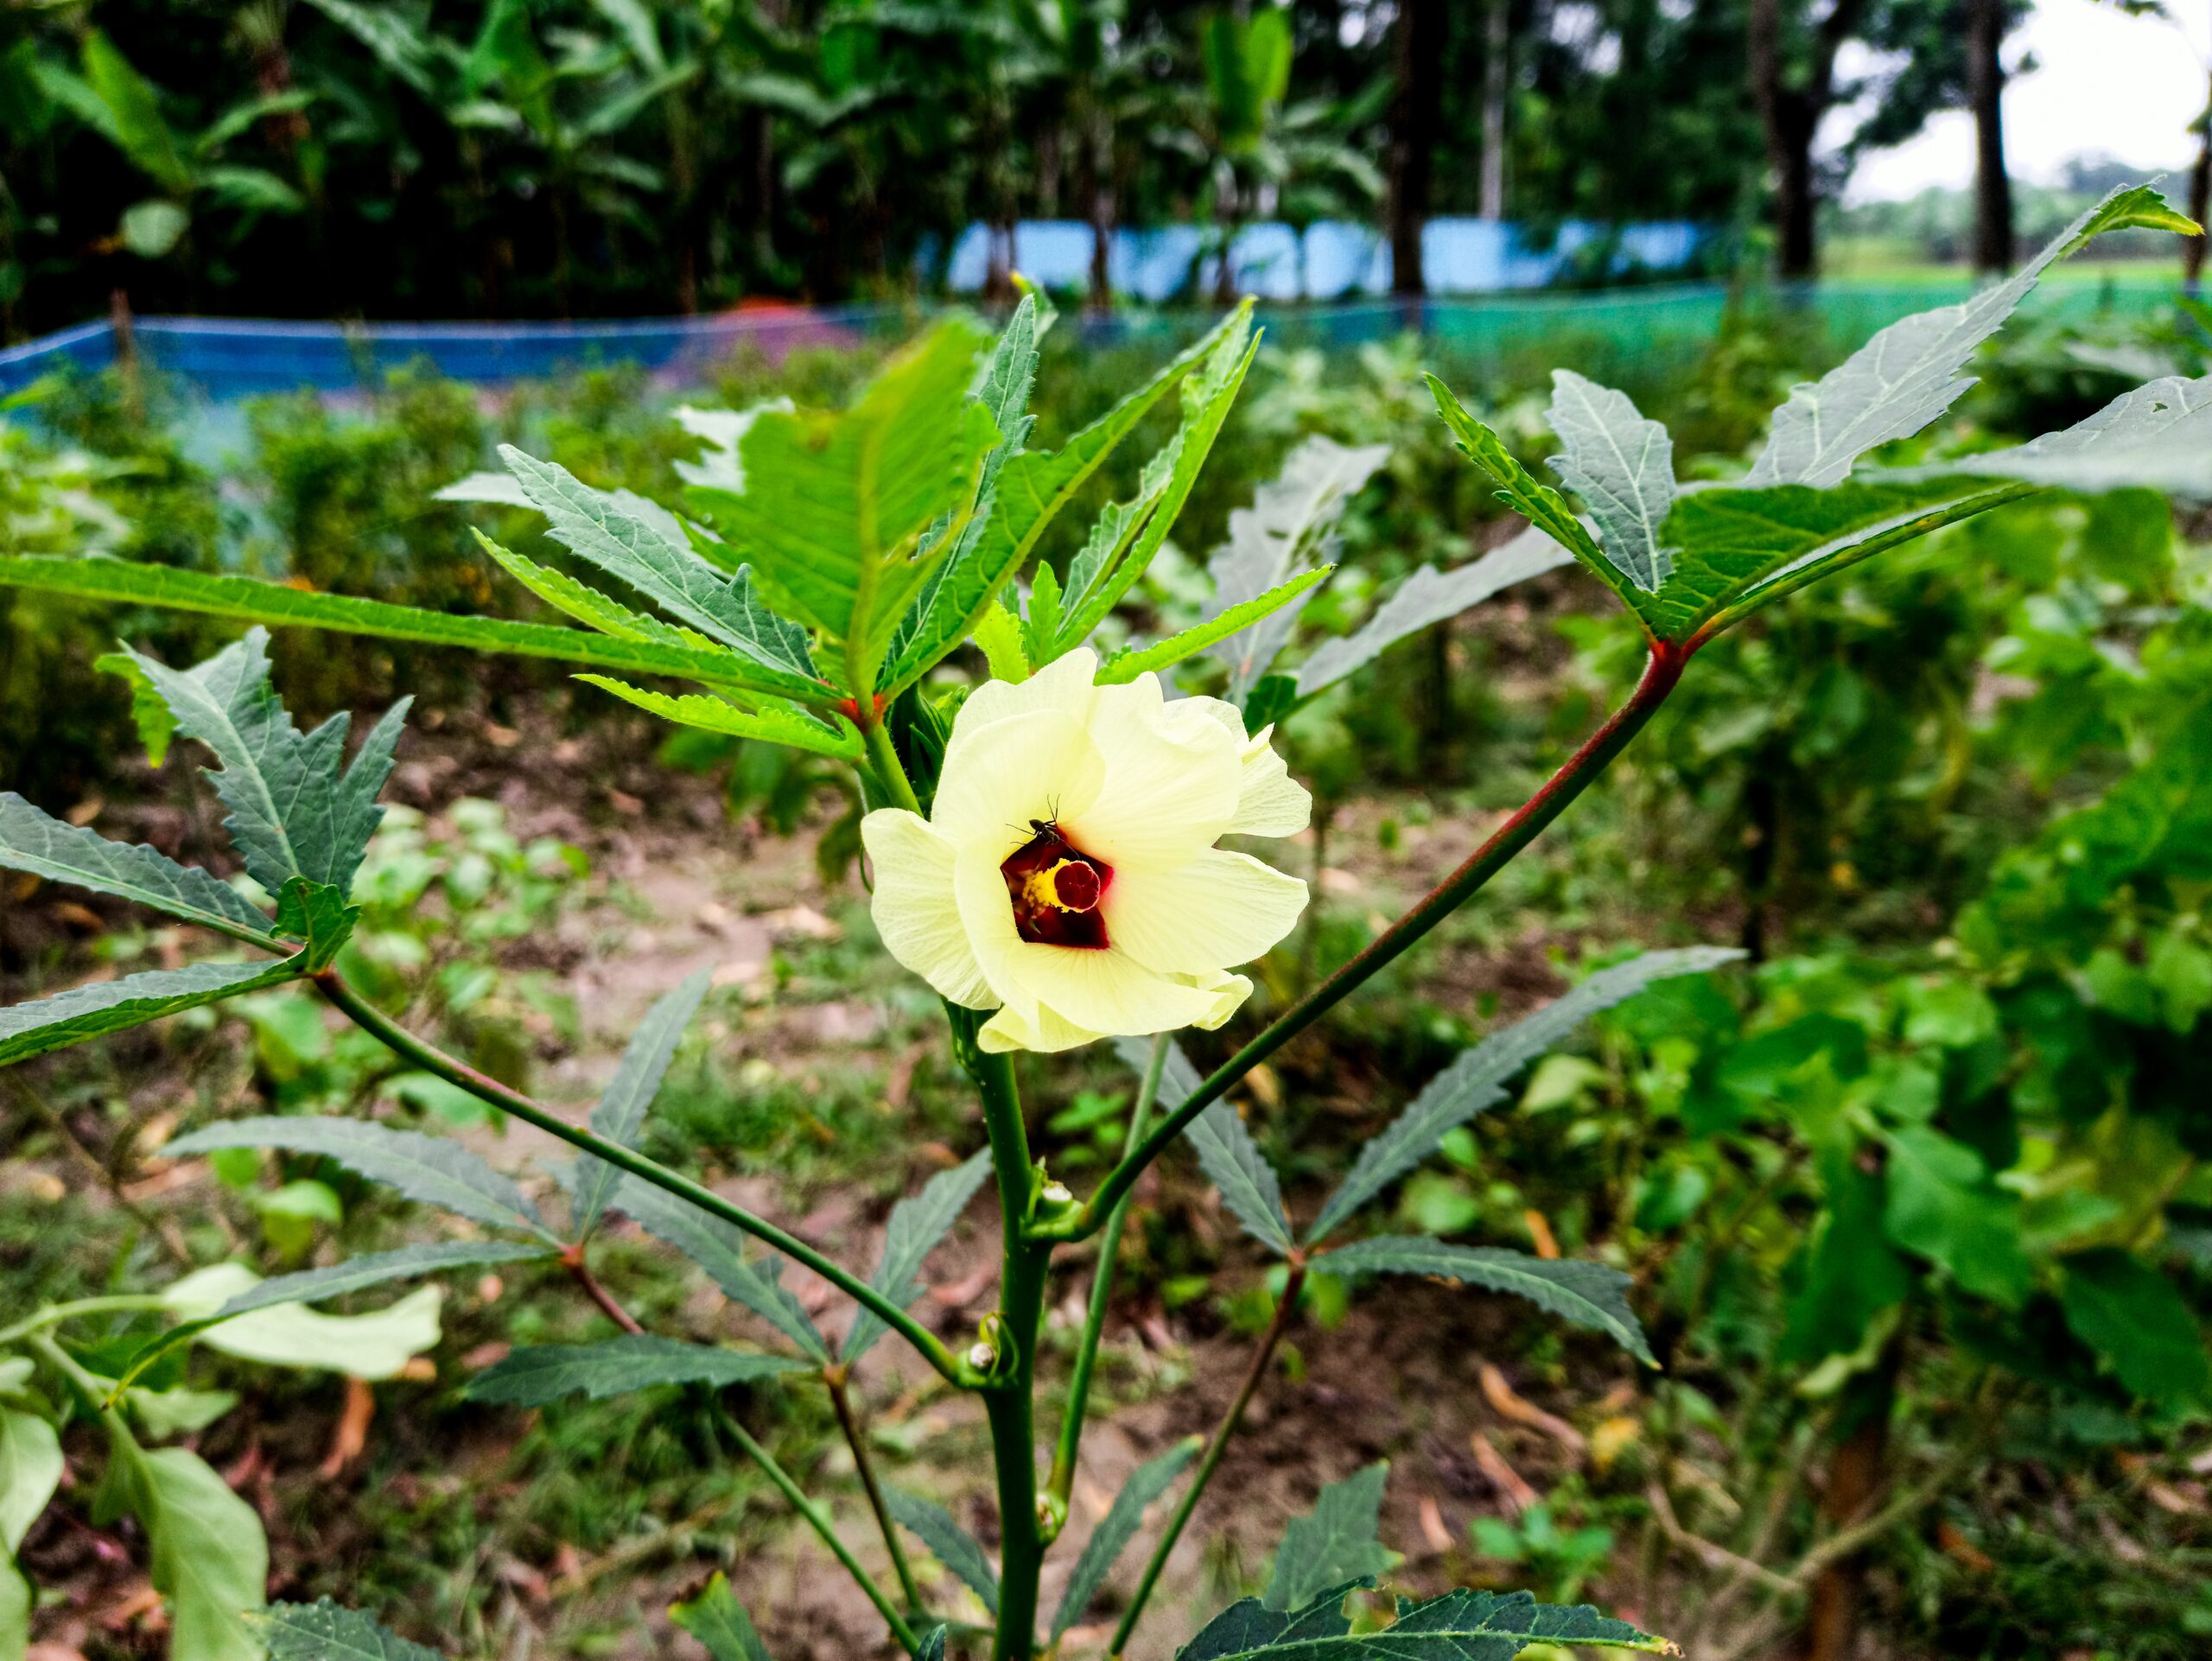
Pic source: unsplash.com
Starting Okra Seeds: Home Guide to Fresh Harvest
Okra, also known as lady’s fingers, is a warm-season vegetable that is popular in many cuisines around the world. If you’re a gardening enthusiast looking to grow your own okra at home, starting from seeds is a great way to ensure a fresh and bountiful harvest. In this step-by-step guide, we will walk you through the process of planting okra seeds in your home garden.
First and foremost, it’s important to choose the right time to start your okra seeds. Okra thrives in warm weather, so it’s best to wait until the soil temperature reaches at least 65°F (18°C) before planting. This usually occurs in late spring or early summer, depending on your location. Once the soil is warm enough, you can proceed to the next step.
To begin, prepare the soil in your garden bed. Okra prefers well-drained soil that is rich in organic matter. You can achieve this by adding compost or well-rotted manure to the soil. It’s also a good idea to loosen the soil with a garden fork or tiller to ensure proper root development.
Next, it’s time to sow the okra seeds. Start by creating furrows in the soil, about 1 inch (2.5 cm) deep and 12-18 inches (30-45 cm) apart. Place the seeds in the furrows, spacing them about 3-4 inches (7-10 cm) apart. Cover the seeds with soil and gently firm it down to ensure good seed-to-soil contact.
After sowing the seeds, it’s crucial to provide them with adequate moisture. Water the garden bed thoroughly, making sure the soil is evenly moist. Avoid overwatering, as this can lead to rotting of the seeds or damping off of the seedlings. As the seeds germinate and the seedlings emerge, continue to water them regularly, keeping the soil consistently moist but not waterlogged.
As the okra seedlings grow, it’s important to thin them out to ensure proper spacing. Once the seedlings have developed their first true leaves, thin them to a spacing of 12-18 inches (30-45 cm) apart. This will allow each plant to have enough space to grow and receive adequate sunlight.
In addition to proper spacing, okra plants also require full sun to thrive. Make sure to choose a location in your garden that receives at least 6-8 hours of direct sunlight per day. If your garden doesn’t have a sunny spot, consider using containers or raised beds that can be moved to sunnier areas.
As the okra plants continue to grow, it’s important to provide them with regular care. This includes watering them deeply once a week, especially during dry spells, and applying a balanced fertilizer every 4-6 weeks. Additionally, keep an eye out for pests such as aphids or caterpillars, and take appropriate measures to control them.
Finally, be patient and watch your okra plants flourish. Okra typically takes around 50-60 days from planting to harvest, depending on the variety. Harvest the pods when they are young and tender, about 3-4 inches (7-10 cm) long. Regular harvesting will encourage the plants to produce more pods throughout the growing season.
In conclusion, starting okra seeds in your home garden is a rewarding experience that can provide you with a fresh and delicious harvest. By following this step-by-step guide, you can ensure that your okra plants thrive and produce an abundance of tasty pods. So roll up your sleeves, grab your gardening tools, and get ready to enjoy the fruits of your labor!
Essential Tips for Caring and Maintaining Okra Seedlings for Optimal Growth
Starting Okra Seeds: Home Guide to Fresh Harvest
Okra, also known as lady’s fingers, is a warm-season vegetable that is popular in many cuisines around the world. It is a versatile and nutritious vegetable that can be enjoyed in a variety of dishes, from soups and stews to stir-fries and salads. If you’re interested in growing your own okra, starting from seeds is a great way to ensure a fresh and bountiful harvest. In this article, we will provide you with essential tips for caring and maintaining okra seedlings for optimal growth.
- Supplies Needed for Starting Okra Seeds:
To start okra seeds, you will need a few basic supplies. First, choose a well-draining pot or container that is at least 12 inches deep. Okra plants have long taproots, so a deep container is necessary for their proper growth. Fill the container with a high-quality potting mix that is rich in organic matter. This will provide the necessary nutrients for the seedlings to thrive.
- Planting Okra Seeds:
Before planting the seeds, it is important to soak them in water overnight. This will help to soften the hard outer shell and promote germination. After soaking, place the seeds about an inch deep in the potting mix, spacing them about 4 to 6 inches apart. Cover the seeds with a thin layer of soil and gently pat it down to ensure good seed-to-soil contact.
- Providing the Right Conditions for Germination:
Once the seeds are planted, it is crucial to provide them with the right conditions for germination. Okra seeds require warm soil temperatures of around 70 to 90 degrees Fahrenheit to sprout. You can use a seedling heat mat or place the container in a warm location, such as near a sunny window or on top of a refrigerator. Keep the soil consistently moist but not waterlogged, as excessive moisture can lead to rotting.
- Thinning Out Seedlings and Care Tips:
As the seedlings emerge, it is important to thin them out to ensure proper spacing. Thin the seedlings to about 12 to 18 inches apart, as overcrowding can lead to poor air circulation and increased risk of disease. You can either gently pull out the excess seedlings or use scissors to snip them at the soil level.
- Care and Maintenance of Okra Plants:
Once the seedlings have been thinned, it is time to provide them with proper care and maintenance. Okra plants thrive in full sun, so make sure to place them in a location that receives at least 6 to 8 hours of direct sunlight each day. Water the plants regularly, aiming to keep the soil evenly moist. Avoid overhead watering, as wet foliage can increase the risk of fungal diseases.
- Care and Maintenance of Okra Plants:
Fertilizing okra plants is also important for their optimal growth. Apply a balanced fertilizer, such as a 10-10-10 or 14-14-14, every four to six weeks throughout the growing season. Follow the package instructions for proper application rates. Additionally, mulching around the plants can help to conserve moisture, suppress weeds, and regulate soil temperature.
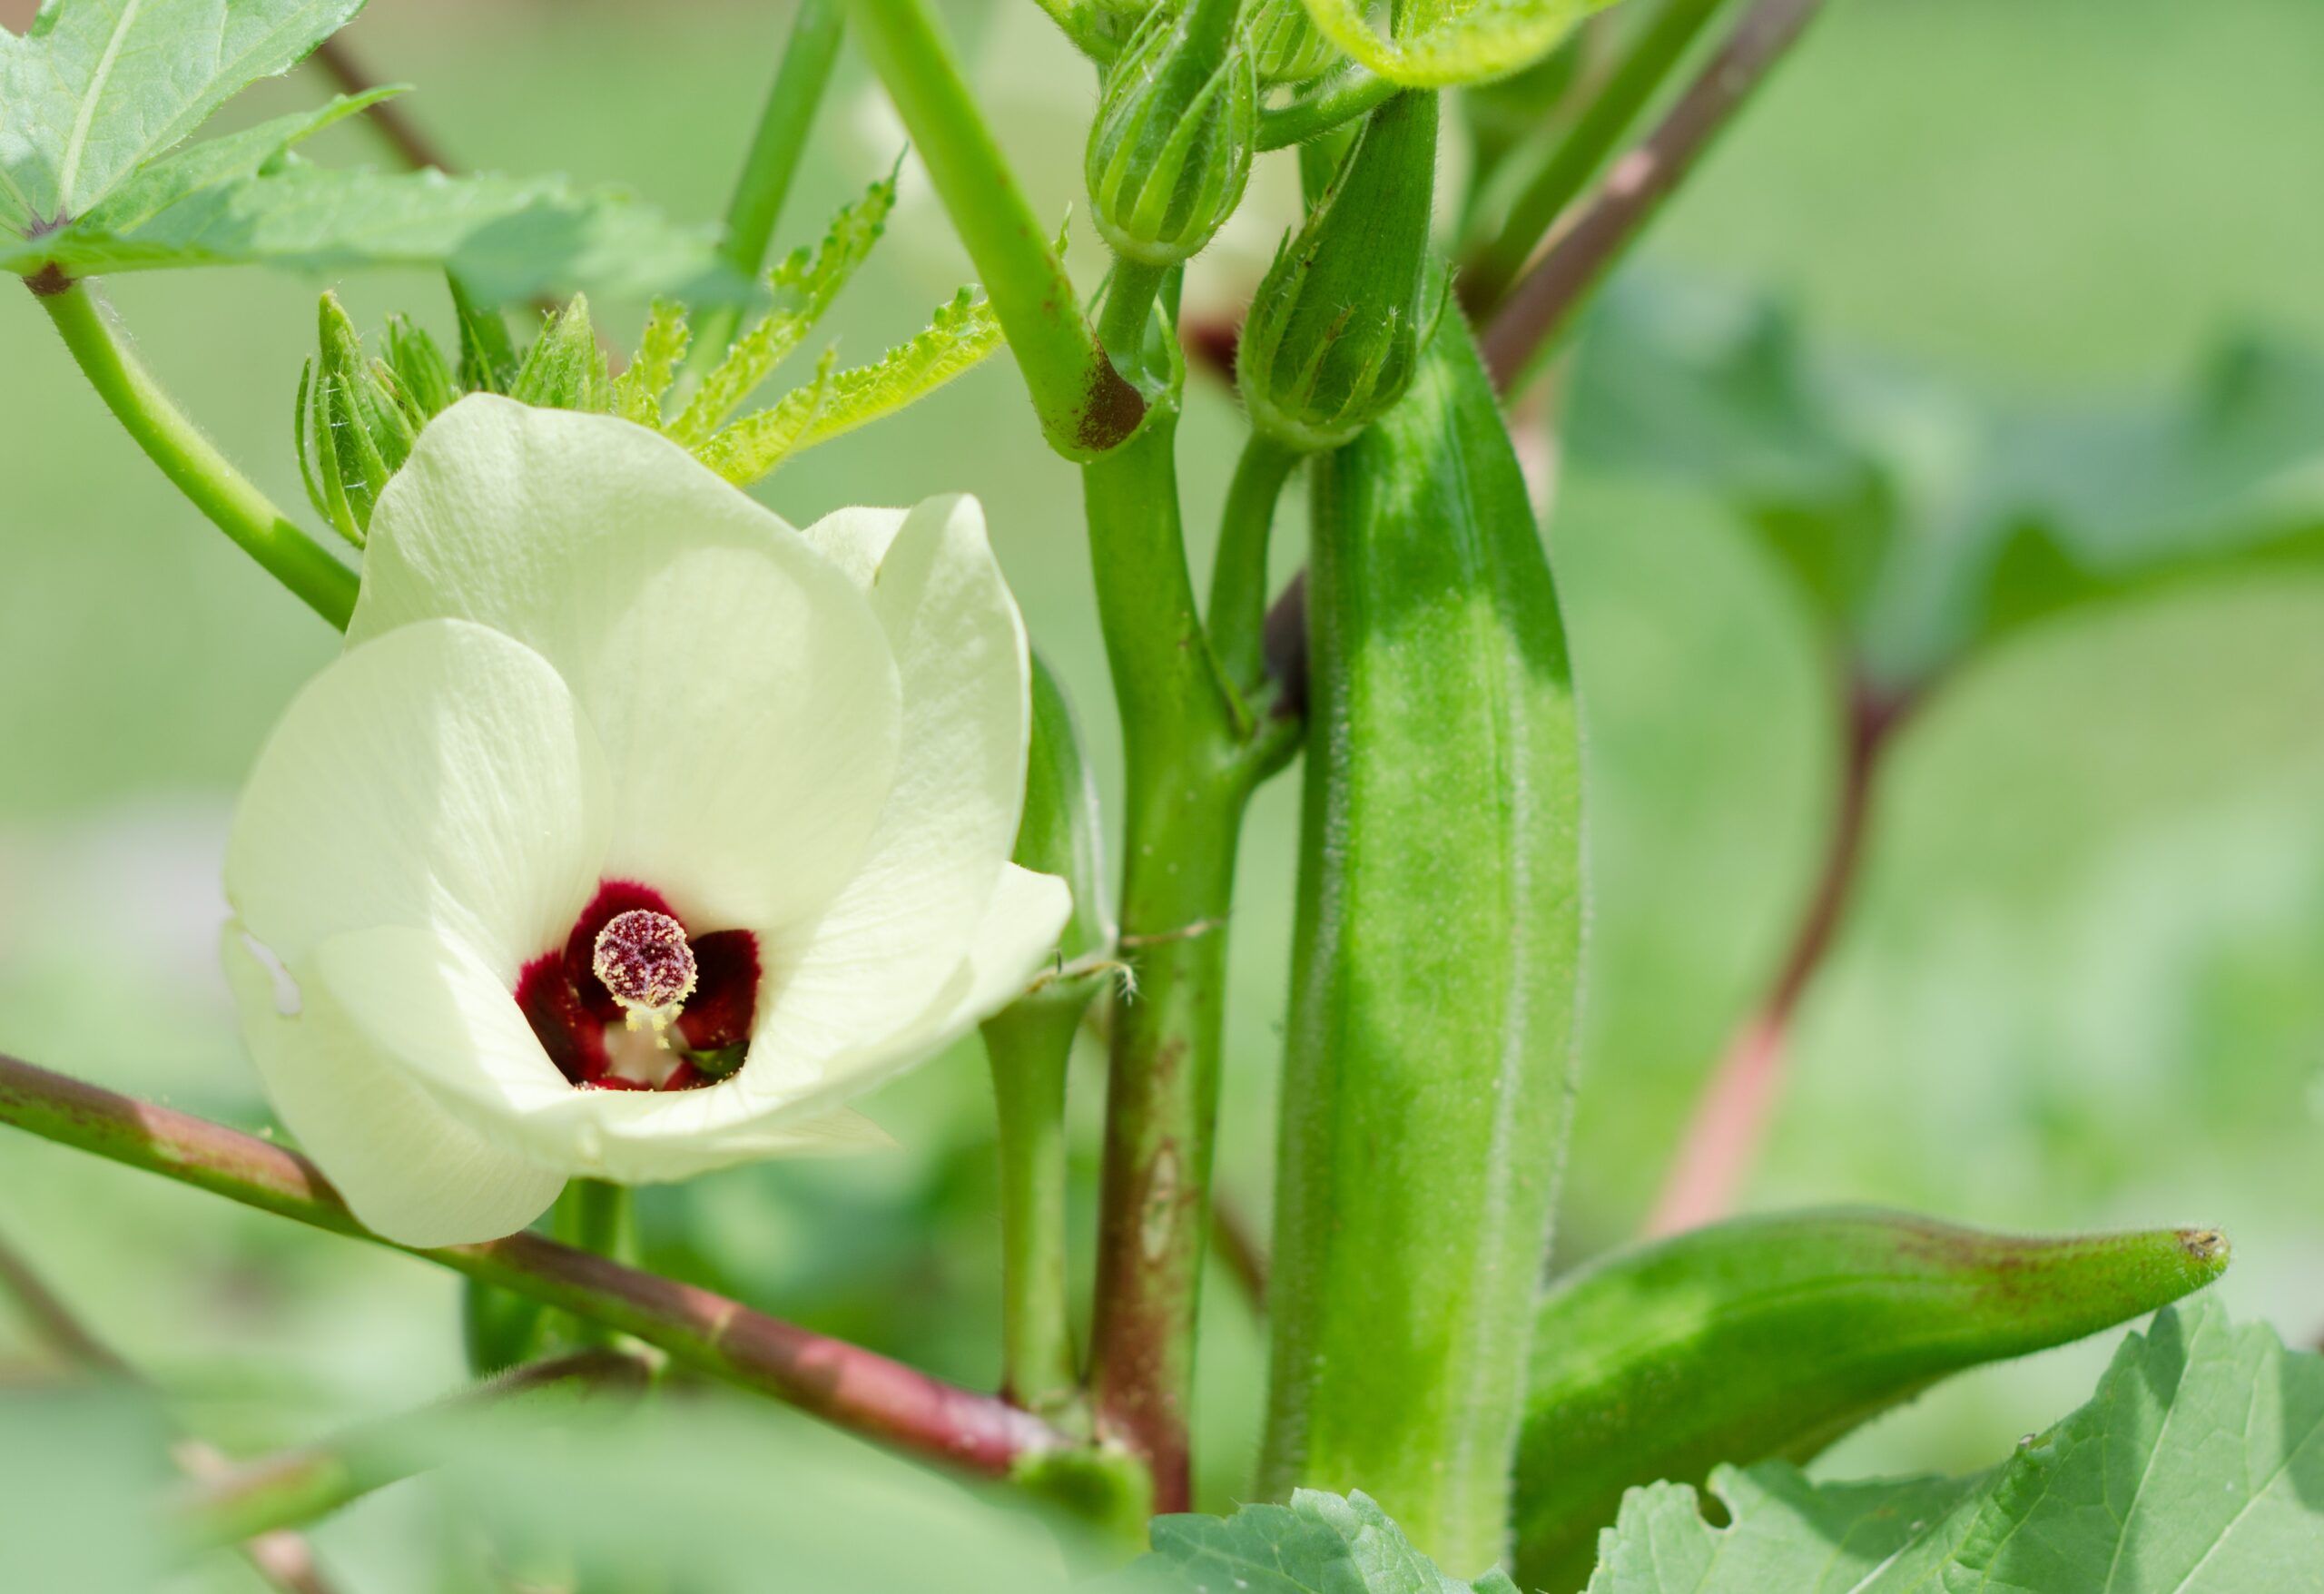
As the okra plants grow, they will start to produce flowers, which will eventually develop into pods. Harvest the pods when they are about 3 to 4 inches long, as larger pods can become tough and fibrous. Use a sharp knife or scissors to cut the pods from the plant, being careful not to damage the stem or other pods.
Conclusion: Enjoying Your Bountiful Okra Harvest:
In conclusion, starting okra seeds is a rewarding way to grow your own fresh and delicious okra. By following these essential tips for caring and maintaining okra seedlings, you can ensure optimal growth and a bountiful harvest. With proper care and attention, you’ll soon be enjoying the fruits of your labor in a variety of tasty dishes.