-
Benefits of Growing Homegrown Garlic
Garlic, a staple ingredient in many cuisines around the world, is not only a flavorful addition to dishes but also offers numerous health benefits. While it is readily available in grocery stores, growing your own garlic at home can be a rewarding and cost-effective endeavor. In this article, we will explore the benefits of growing homegrown garlic and why it is a great choice for beginners interested in organic cultivation.
One of the primary advantages of growing your own garlic is the assurance of its organic nature. Commercially grown garlic often undergoes chemical treatments and is exposed to pesticides, which can have detrimental effects on both the environment and our health. By cultivating garlic at home, you have complete control over the growing process, ensuring that your garlic is free from harmful chemicals.
Furthermore, homegrown garlic offers superior flavor compared to store-bought varieties. The freshness and quality of the garlic you grow yourself cannot be matched by mass-produced alternatives. The intense and aromatic taste of homegrown garlic will elevate your culinary creations to new heights, making every dish a memorable experience.
In addition to its culinary benefits, homegrown garlic also boasts a range of health advantages. Garlic is known for its potent medicinal properties, including its ability to boost the immune system, lower blood pressure, and reduce the risk of heart disease. By incorporating homegrown garlic into your diet, you can harness these health benefits and improve your overall well-being.
Growing garlic at home is relatively easy, making it an ideal choice for beginners. Garlic is a hardy plant that requires minimal maintenance and can thrive in various climates. Whether you have a spacious backyard or a small balcony, you can successfully cultivate garlic with just a few simple steps.
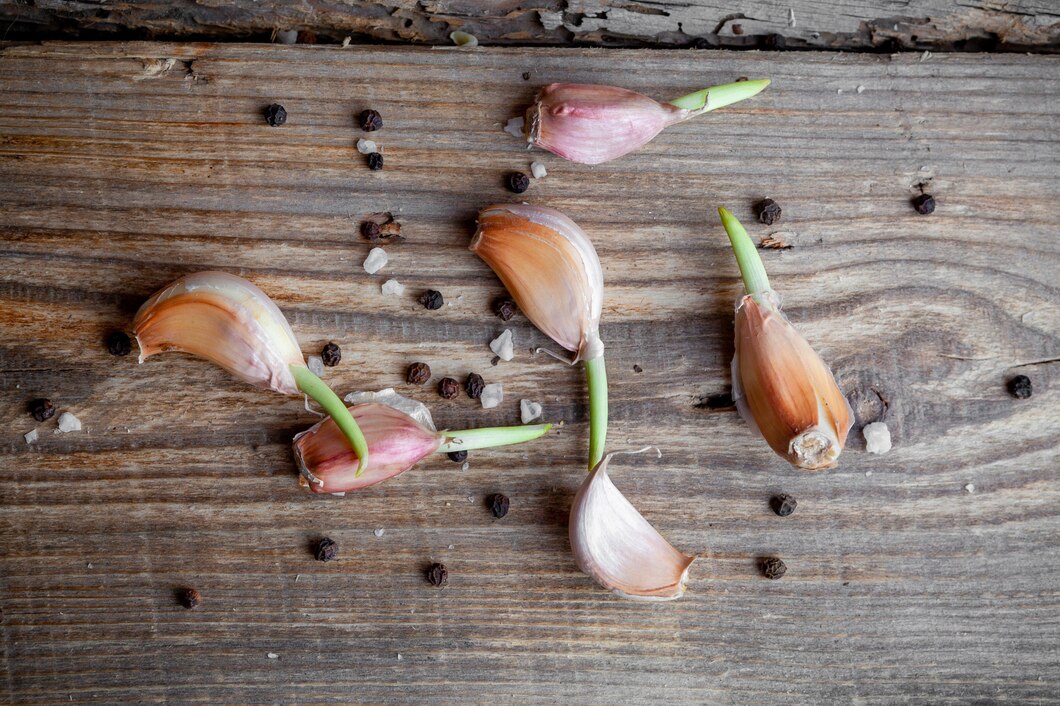
To begin, select a suitable variety of garlic for your region. Softneck garlic varieties are well-suited for warmer climates, while hardneck varieties are more tolerant of colder temperatures. Once you have chosen your garlic bulbs, separate them into individual cloves, ensuring that each clove has a firm and intact outer skin.
Prepare the soil by loosening it with a garden fork and removing any weeds or debris. Garlic prefers well-draining soil, so consider adding organic matter such as compost or aged manure to improve the soil’s fertility. Plant the garlic cloves, pointed end up, about two inches deep and six inches apart. Cover the cloves with soil and water thoroughly.
Garlic requires consistent moisture, so water regularly, especially during dry spells. However, be cautious not to overwater, as garlic bulbs can rot in waterlogged soil. Mulching around the plants can help retain moisture and suppress weed growth.
As the garlic plants grow, remove any weeds that may compete for nutrients and space. Garlic is generally pest-resistant, but keep an eye out for common pests such as aphids or onion maggots. If necessary, use organic pest control methods to protect your plants.
In conclusion, growing homegrown garlic offers numerous benefits, from ensuring its organic nature to enjoying its superior flavor and health advantages. With its ease of cultivation, garlic is an excellent choice for beginners interested in organic gardening. By following a few simple steps, you can enjoy a bountiful harvest of fresh and flavorful garlic that will enhance your culinary creations and promote your well-being. So why not give it a try and embark on your journey to homegrown garlic cultivation today?
-
Step-by-Step Guide to Planting Homegrown Garlic

Garlic is a versatile and flavorful ingredient that is used in a wide variety of dishes. While it is readily available in grocery stores, there is something special about growing your own garlic at home. Not only does it allow you to have a fresh supply of this aromatic herb, but it also gives you the satisfaction of knowing that you have grown it organically. If you are a beginner looking to start your own garlic garden, this step-by-step guide will help you get started.
The first step in planting homegrown garlic is to choose the right variety. There are two main types of garlic: hardneck and softneck. Hardneck garlic produces a flower stalk called a scape, which can be harvested and used in cooking. Softneck garlic, on the other hand, does not produce scapes but has a longer shelf life. Consider your preferences and the climate in your area when selecting the variety.
Once you have chosen the garlic variety, it is time to prepare the soil. Garlic prefers loose, well-draining soil with a pH level between 6 and 7. Start by removing any weeds or grass from the planting area. Then, loosen the soil with a garden fork or tiller to a depth of about 8 inches. Incorporate organic matter such as compost or well-rotted manure to improve the soil’s fertility.
After preparing the soil, it is time to plant the garlic cloves. Break apart the garlic bulb into individual cloves, making sure to keep the papery skin intact. Plant the cloves with the pointed end facing up and the flat end facing down. Space the cloves about 6 inches apart, with each row being 12 inches apart. Plant the cloves about 2 inches deep, covering them with soil and gently firming it around them.
Once the garlic cloves are planted, it is important to provide them with proper care. Garlic requires consistent moisture, especially during the growing season. Water the plants regularly, making sure not to overwater them as this can lead to rot. Mulching around the plants can help retain moisture and suppress weed growth.
As the garlic plants grow, it is important to keep them well-fed. Fertilize the plants with a balanced organic fertilizer about a month after planting. Avoid using synthetic fertilizers as they can harm the soil and the environment. Additionally, remove any weeds that may compete with the garlic for nutrients and water.
In late spring or early summer, hardneck garlic plants will produce scapes. These curly flower stalks should be removed to encourage bulb development. Scapes are not only delicious but can also be used in various dishes such as stir-fries or pesto. Softneck garlic, on the other hand, does not produce scapes, so you can skip this step.
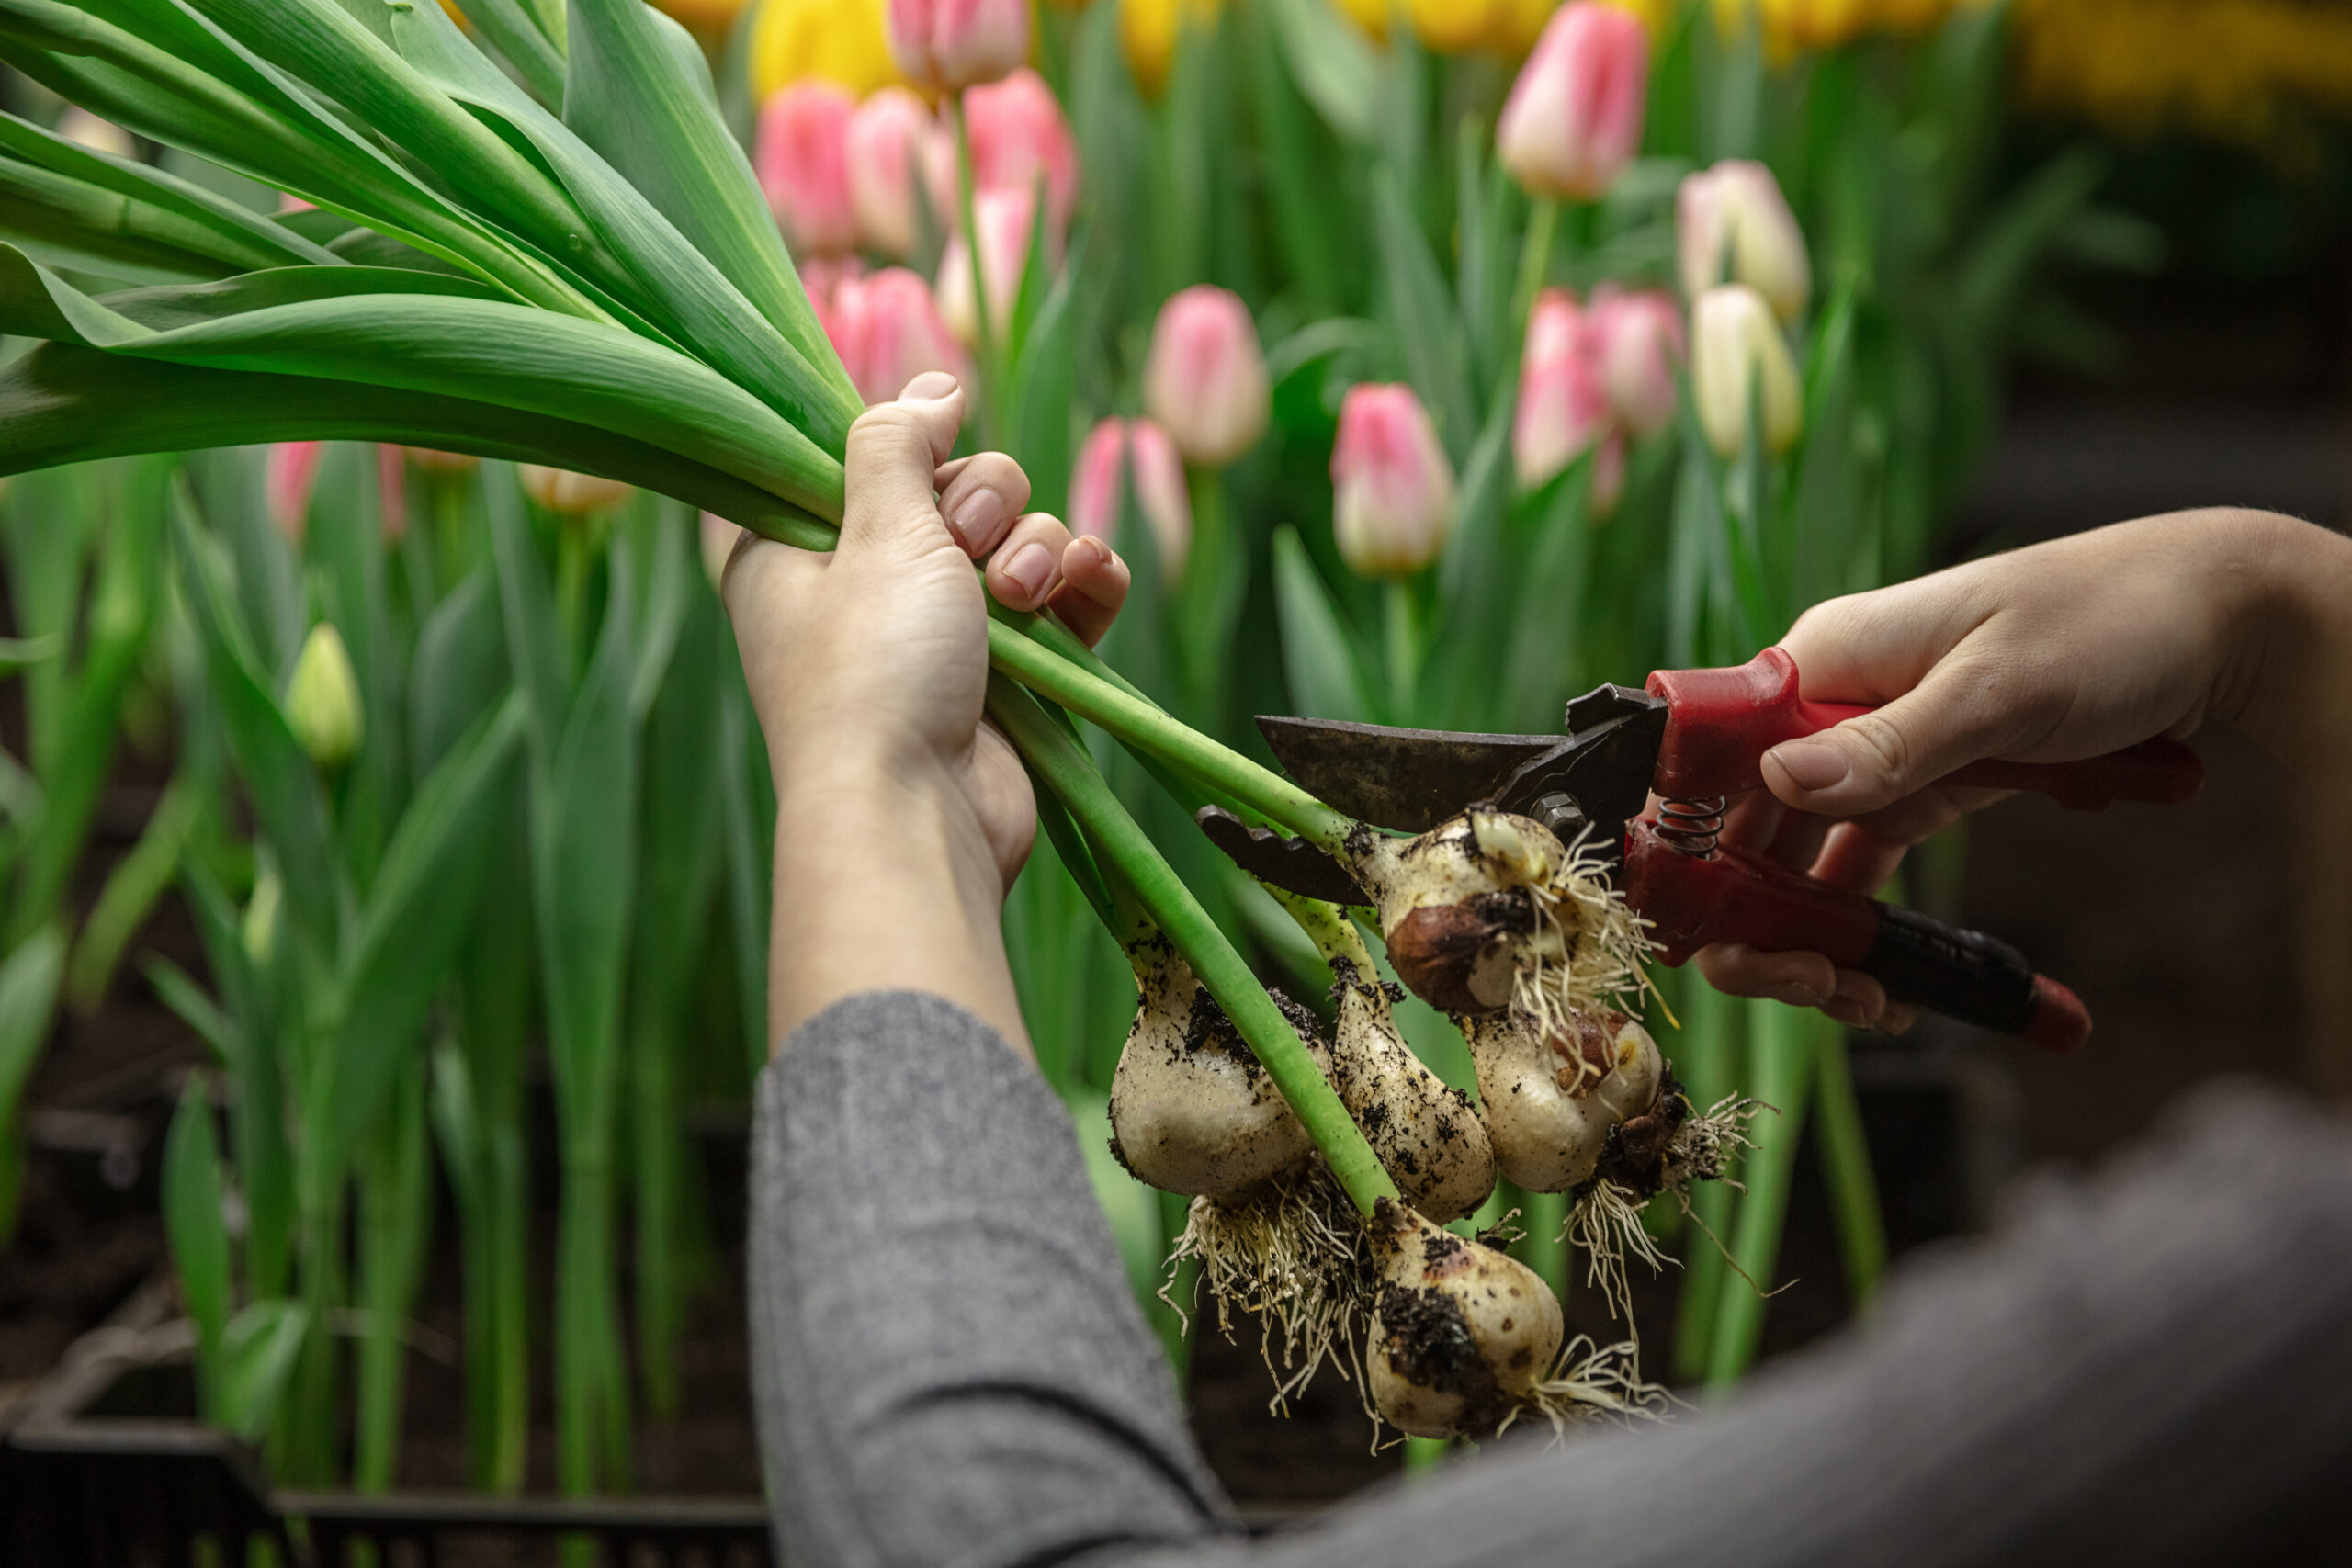
As the garlic plants mature, the leaves will start to turn yellow and dry out. This is a sign that the bulbs are ready to be harvested. Gently dig up the bulbs using a garden fork or shovel, being careful not to damage them. Allow the bulbs to dry in a well-ventilated area for a few weeks before storing them in a cool, dry place.
Growing your own garlic at home can be a rewarding experience. By following this step-by-step guide, even beginners can successfully cultivate organic garlic. From choosing the right variety to harvesting the bulbs, each step is crucial in ensuring a bountiful harvest. So why not give it a try and enjoy the taste of homegrown garlic in your favorite recipes?
-
Common Pests and Diseases in Homegrown Garlic and How to Prevent Them
Growing your own garlic can be a rewarding experience, but like any plant, garlic is susceptible to pests and diseases. In this section, we will discuss some common pests and diseases that can affect homegrown garlic and provide tips on how to prevent them.
One of the most common pests that garlic growers encounter is the onion fly. These small, black flies lay their eggs at the base of the garlic plant, and the larvae feed on the roots, causing the plant to weaken and eventually die. To prevent onion fly infestations, it is important to practice good garden hygiene. Remove any plant debris from the previous season and rotate your garlic crop to a different location each year. This will help disrupt the life cycle of the onion fly and reduce the risk of infestation.
Another pest that can wreak havoc on your garlic crop is the garlic nematode. These microscopic worms live in the soil and feed on the roots of garlic plants. Infected plants may exhibit stunted growth, yellowing leaves, and bulb deformities. To prevent garlic nematode infestations, it is important to start with healthy, disease-free garlic cloves. Avoid planting garlic in soil that has a history of nematode infestations, and consider using a soil solarization technique to kill off any nematodes present in the soil.
Fungal diseases can also pose a threat to your homegrown garlic. One common fungal disease is white rot, which causes the bulbs to rot and become soft and mushy. To prevent white rot, it is important to plant garlic in well-drained soil and avoid overwatering. Proper spacing between plants can also help improve air circulation and reduce the risk of fungal infections. If you notice any signs of white rot, such as discolored leaves or a foul odor, remove and destroy the infected plants to prevent the disease from spreading.
Another fungal disease that garlic growers often encounter is rust. Rust appears as orange or yellow spots on the leaves and can cause the plant to weaken and produce smaller bulbs. To prevent rust, it is important to practice good garden hygiene and remove any infected leaves or plants. Avoid overhead watering, as this can create a moist environment that is conducive to fungal growth. Applying a fungicide labeled for use on garlic can also help prevent rust, but be sure to follow the instructions carefully.
In addition to pests and diseases, garlic can also be affected by nutrient deficiencies. One common deficiency is a lack of sulfur, which can result in yellowing leaves and poor bulb development. To prevent sulfur deficiency, it is important to amend the soil with organic matter, such as compost or well-rotted manure, before planting. Adding a balanced organic fertilizer can also help ensure that your garlic plants have access to the nutrients they need for healthy growth.
In conclusion, while pests and diseases can pose a challenge to homegrown garlic, there are steps you can take to prevent and manage these issues. Practicing good garden hygiene, starting with healthy cloves, and providing optimal growing conditions can go a long way in keeping your garlic crop healthy and productive. By being proactive and taking preventative measures, you can enjoy a bountiful harvest of organic, homegrown garlic year after year.
-
Harvesting and Storing Homegrown Garlic
Once you have successfully grown your own garlic, it is time to harvest and store it properly to ensure its freshness and flavor. Harvesting garlic is a simple process, but it requires some attention to detail. In this section, we will guide you through the steps of harvesting and storing homegrown garlic.
The first thing to consider when harvesting garlic is the timing. Garlic is typically ready to be harvested when the leaves start to turn yellow and dry out. This usually occurs in late spring or early summer, depending on the variety and your location. It is important not to wait too long to harvest, as the bulbs can split and lose their flavor if left in the ground for too long.
To harvest garlic, gently loosen the soil around the bulbs using a garden fork or shovel. Be careful not to damage the bulbs in the process. Once the bulbs are loosened, carefully lift them out of the ground, taking care not to break or bruise them. Shake off any excess soil, but do not wash the bulbs as this can increase the risk of rot during storage.
After harvesting, it is important to cure the garlic before storing it. Curing allows the bulbs to dry out and develop their full flavor. To cure garlic, lay the bulbs in a single layer in a well-ventilated area, away from direct sunlight. A garage or a covered porch can be a suitable location for curing. Make sure to space the bulbs out to allow for proper airflow.
Leave the garlic to cure for about two to three weeks, or until the outer skin becomes papery and dry. During this time, the bulbs will shrink slightly and develop a stronger flavor. It is important to monitor the curing process and remove any bulbs that show signs of rot or mold.
Once the garlic is fully cured, it is time to trim and clean the bulbs for storage. Start by removing the outermost layer of skin, being careful not to damage the cloves. Trim the roots to about half an inch in length, and trim the tops to about an inch above the cloves. This will help prevent the bulbs from sprouting during storage.
After trimming, inspect the bulbs again for any signs of rot or mold. Discard any bulbs that are damaged or show signs of disease. Healthy bulbs can be stored in a cool, dry, and well-ventilated place. A mesh bag or a wooden crate works well for storing garlic, as it allows for proper airflow.
Avoid storing garlic in plastic bags or containers, as this can trap moisture and lead to rot. Also, keep garlic away from direct sunlight, as exposure to light can cause the bulbs to sprout prematurely. When stored properly, homegrown garlic can last for several months, allowing you to enjoy its fresh flavor long after harvest.
In conclusion, harvesting and storing homegrown garlic is a crucial step in the cultivation process. By following these simple guidelines, you can ensure that your garlic remains fresh and flavorful for an extended period. Remember to harvest at the right time, cure the bulbs properly, and store them in a cool and dry place. With a little care and attention, you can enjoy the fruits of your labor throughout the year.