Benefits of Growing Spinach at Home
Growing your own spinach at home can be a rewarding and beneficial experience. Not only does it provide you with a fresh and nutritious addition to your meals, but it also offers several other advantages. In this article, we will explore the benefits of growing spinach at home and why you should consider adding it to your gardening repertoire.
One of the primary benefits of growing spinach at home is the control you have over the entire process. When you grow your own spinach, you have complete control over the type of soil, fertilizers, and pesticides used. This means that you can ensure your spinach is grown organically, without any harmful chemicals. By avoiding the use of pesticides, you can rest assured that you are consuming a healthier and safer product.
Furthermore, growing spinach at home allows you to have a constant supply of fresh greens. Spinach is a fast-growing vegetable, and with proper care and maintenance, you can have a continuous harvest throughout the growing season. This means that you will always have access to fresh spinach for your salads, smoothies, or cooked dishes. Additionally, you can pick the leaves at their peak freshness, ensuring maximum flavor and nutritional value.
Another advantage of growing spinach at home is the cost savings it offers. Spinach is a versatile and widely used vegetable, making it a staple in many households. By growing your own spinach, you can significantly reduce your grocery bill. The cost of seeds or seedlings is minimal compared to the amount of spinach you can harvest. Additionally, you can save on transportation costs and the markup typically associated with store-bought produce.
In addition to the financial benefits, growing spinach at home also promotes sustainability. By reducing your reliance on store-bought spinach, you are decreasing the demand for commercially grown produce. This, in turn, reduces the carbon footprint associated with transportation and the use of energy-intensive farming practices. By growing your own spinach, you are contributing to a more sustainable and environmentally friendly way of living.
Furthermore, gardening, including growing spinach, has numerous health benefits. Spending time outdoors, tending to your garden, and getting your hands dirty can be a therapeutic and stress-relieving activity. Gardening has been shown to reduce anxiety and improve overall mental well-being. Additionally, the physical activity involved in gardening can help improve cardiovascular health and increase strength and flexibility.
Lastly, growing spinach at home allows you to connect with nature and appreciate the beauty of the growing process. Witnessing the transformation of a tiny seed into a flourishing plant can be a truly awe-inspiring experience. It provides a sense of accomplishment and fulfillment that is hard to replicate. Moreover, gardening can be a great way to involve the whole family and teach children about the importance of sustainable living and where their food comes from.
In conclusion, growing spinach at home offers a multitude of benefits. From having control over the growing process to enjoying a constant supply of fresh greens, the advantages are numerous. Not only does it save you money, but it also promotes sustainability, improves mental and physical health, and allows you to connect with nature. So why not give it a try? Start your own home spinach garden today and reap the rewards of this nutritious and versatile vegetable.
Choosing the Right Soil and Location for Your Spinach Garden
Pic Source:pixabay.com
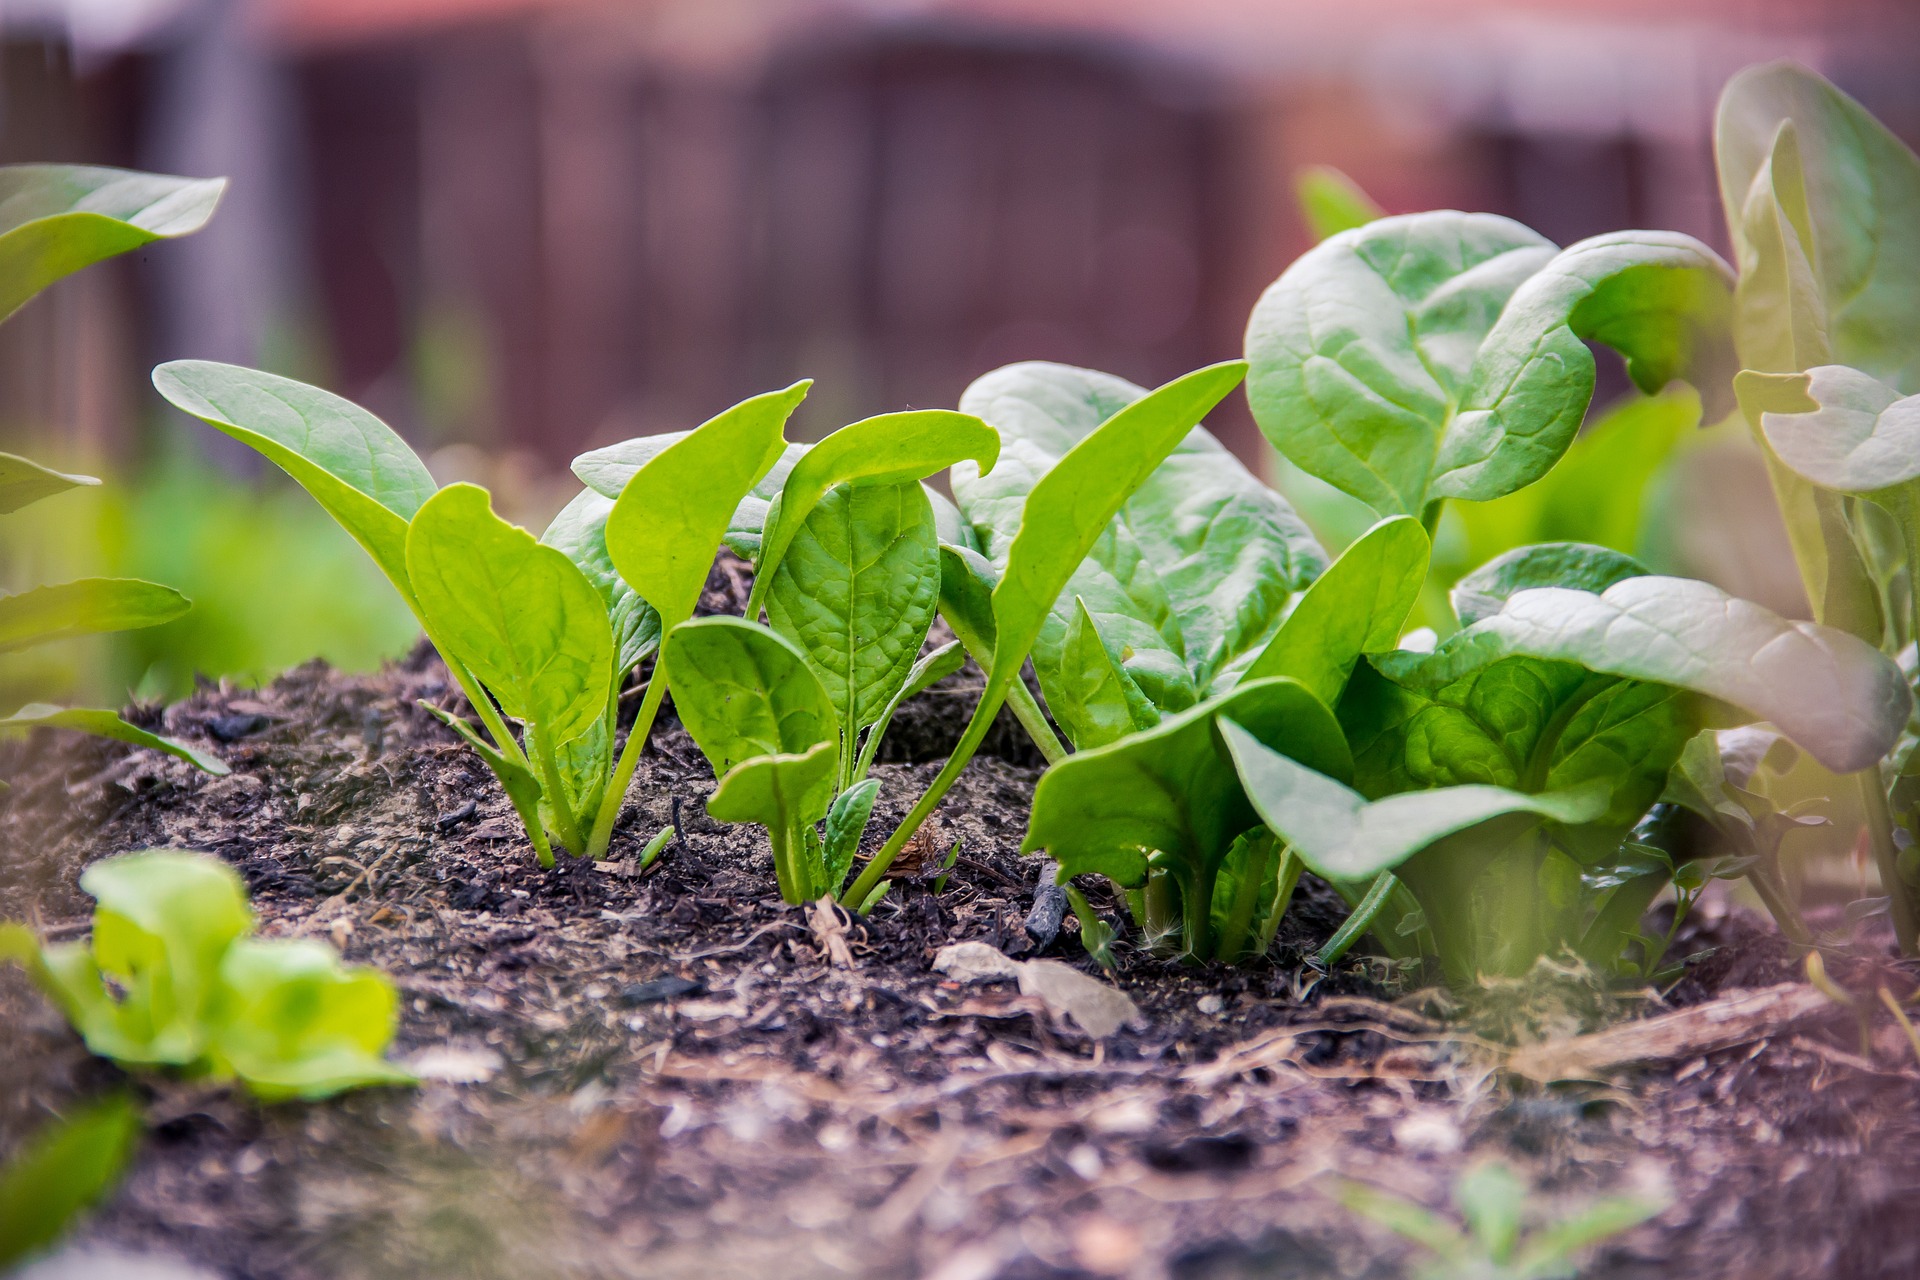
Spinach is a versatile and nutritious leafy green that can easily be grown in your own backyard. Whether you have a large garden or just a small space, spinach can thrive and provide you with a bountiful harvest. In this step-by-step guide, we will walk you through the process of choosing the right soil and location for your spinach garden.
The first step in creating a successful spinach garden is selecting the right soil. Spinach prefers well-draining soil that is rich in organic matter. Before planting, it is important to prepare the soil by removing any weeds or debris. You can do this by hand or with a garden hoe. Once the area is clear, you can add compost or well-rotted manure to improve the soil’s fertility. This will provide the necessary nutrients for your spinach plants to grow and thrive.
Next, you need to consider the location of your spinach garden. Spinach is a cool-season crop that prefers full sun but can tolerate some shade. It is important to choose a location that receives at least six hours of sunlight per day. If you have limited space, you can also grow spinach in containers or raised beds. Just make sure that the containers or beds are placed in a sunny spot.
When selecting a location, it is also important to consider the proximity to a water source. Spinach requires consistent moisture to grow properly. If your garden is far from a water source, you may need to consider installing a drip irrigation system or using a hose with a sprinkler attachment. This will ensure that your spinach plants receive the necessary water they need to thrive.
In addition to soil and location, it is important to consider the climate in your area. Spinach is a cool-season crop that prefers temperatures between 50 and 70 degrees Fahrenheit. It can tolerate light frosts but will bolt and go to seed in hot weather. If you live in a region with hot summers, it is best to plant spinach in the spring or fall when temperatures are cooler. If you live in a colder climate, you can also plant spinach in early spring or late summer for a fall harvest.
Once you have chosen the right soil and location for your spinach garden, it is time to prepare the planting area. Start by loosening the soil with a garden fork or tiller. This will help improve drainage and allow the spinach roots to penetrate the soil easily. Next, create furrows or rows in the soil, spacing them about 12 inches apart. Sow the spinach seeds about 1 inch apart and cover them with a thin layer of soil. Water the seeds gently to ensure good seed-to-soil contact.
After planting, it is important to keep the soil consistently moist until the seeds germinate. This can take anywhere from 7 to 14 days. Once the seedlings emerge, thin them out to about 4 to 6 inches apart. This will allow the remaining plants to have enough space to grow and develop. As the spinach plants grow, make sure to water them regularly and provide them with a balanced fertilizer every few weeks.
In conclusion, choosing the right soil and location for your spinach garden is crucial for a successful harvest. By selecting well-draining soil, a sunny location, and considering the climate in your area, you can create an ideal environment for your spinach plants to thrive. With proper care and maintenance, you will soon be enjoying fresh and nutritious spinach from your own backyard.
Step-by-Step Guide to Planting and Caring for Spinach
Spinach is a versatile and nutritious leafy green that can easily be grown in your own backyard. Whether you have a large garden or just a small balcony, spinach can thrive in a variety of spaces. In this step-by-step guide, we will walk you through the process of planting and caring for spinach, so you can enjoy fresh, homegrown greens all year round.
Step 1: Choosing the Right Spot
The first step in growing spinach is to choose the right spot in your garden. Spinach prefers cool weather and partial shade, so look for an area that receives about 4-6 hours of sunlight per day. It’s also important to ensure that the soil is well-draining and rich in organic matter. If your soil is heavy or clay-like, consider adding compost or well-rotted manure to improve its texture and fertility.
Step 2: Preparing the Soil
Before planting your spinach seeds, it’s important to prepare the soil properly. Start by removing any weeds or debris from the area. Then, use a garden fork or tiller to loosen the soil to a depth of about 6-8 inches. This will help improve drainage and allow the roots to penetrate easily. Finally, incorporate some organic matter, such as compost or aged manure, into the soil to provide essential nutrients for your spinach plants.
Step 3: Planting the Seeds
Once the soil is prepared, it’s time to plant your spinach seeds. Sow the seeds directly into the ground, spacing them about 2-4 inches apart. Cover the seeds with a thin layer of soil, about 1/4 inch deep, and gently pat it down. Water the area thoroughly to ensure good seed-to-soil contact and to help the seeds germinate.
Step 4: Watering and Mulching
After planting, it’s important to keep the soil consistently moist to promote healthy growth. Water your spinach plants regularly, aiming for about 1 inch of water per week. Be careful not to overwater, as this can lead to root rot. To help retain moisture and suppress weeds, consider applying a layer of organic mulch around your plants. This will also help regulate soil temperature and prevent evaporation.
Step 5: Fertilizing
Spinach is a heavy feeder and requires regular fertilization to thrive. About 3-4 weeks after planting, apply a balanced, slow-release fertilizer according to the package instructions. This will provide your plants with the necessary nutrients to produce abundant, healthy leaves. Avoid using high-nitrogen fertilizers, as they can promote excessive leaf growth at the expense of root development.
Step 6: Harvesting
Once your spinach plants reach a height of about 4-6 inches, they are ready to be harvested. To harvest, simply cut the outer leaves with a sharp knife or scissors, leaving the inner leaves to continue growing. This method allows for multiple harvests throughout the growing season. Remember to harvest regularly to prevent the plants from bolting, or going to seed, which can make the leaves bitter.
By following these simple steps, you can easily grow your own spinach at home. With a little bit of care and attention, you’ll be rewarded with a bountiful harvest of fresh, nutritious greens. So why not give it a try and enjoy the satisfaction of growing your own food? Happy gardening!
Harvesting and Using Fresh Spinach from Your Home Garden
Now that you have successfully grown your own spinach at home, it’s time to reap the rewards of your hard work. Harvesting and using fresh spinach from your home garden is not only satisfying but also a great way to incorporate nutritious greens into your meals. In this step-by-step guide, we will walk you through the process of harvesting and using your homegrown spinach.
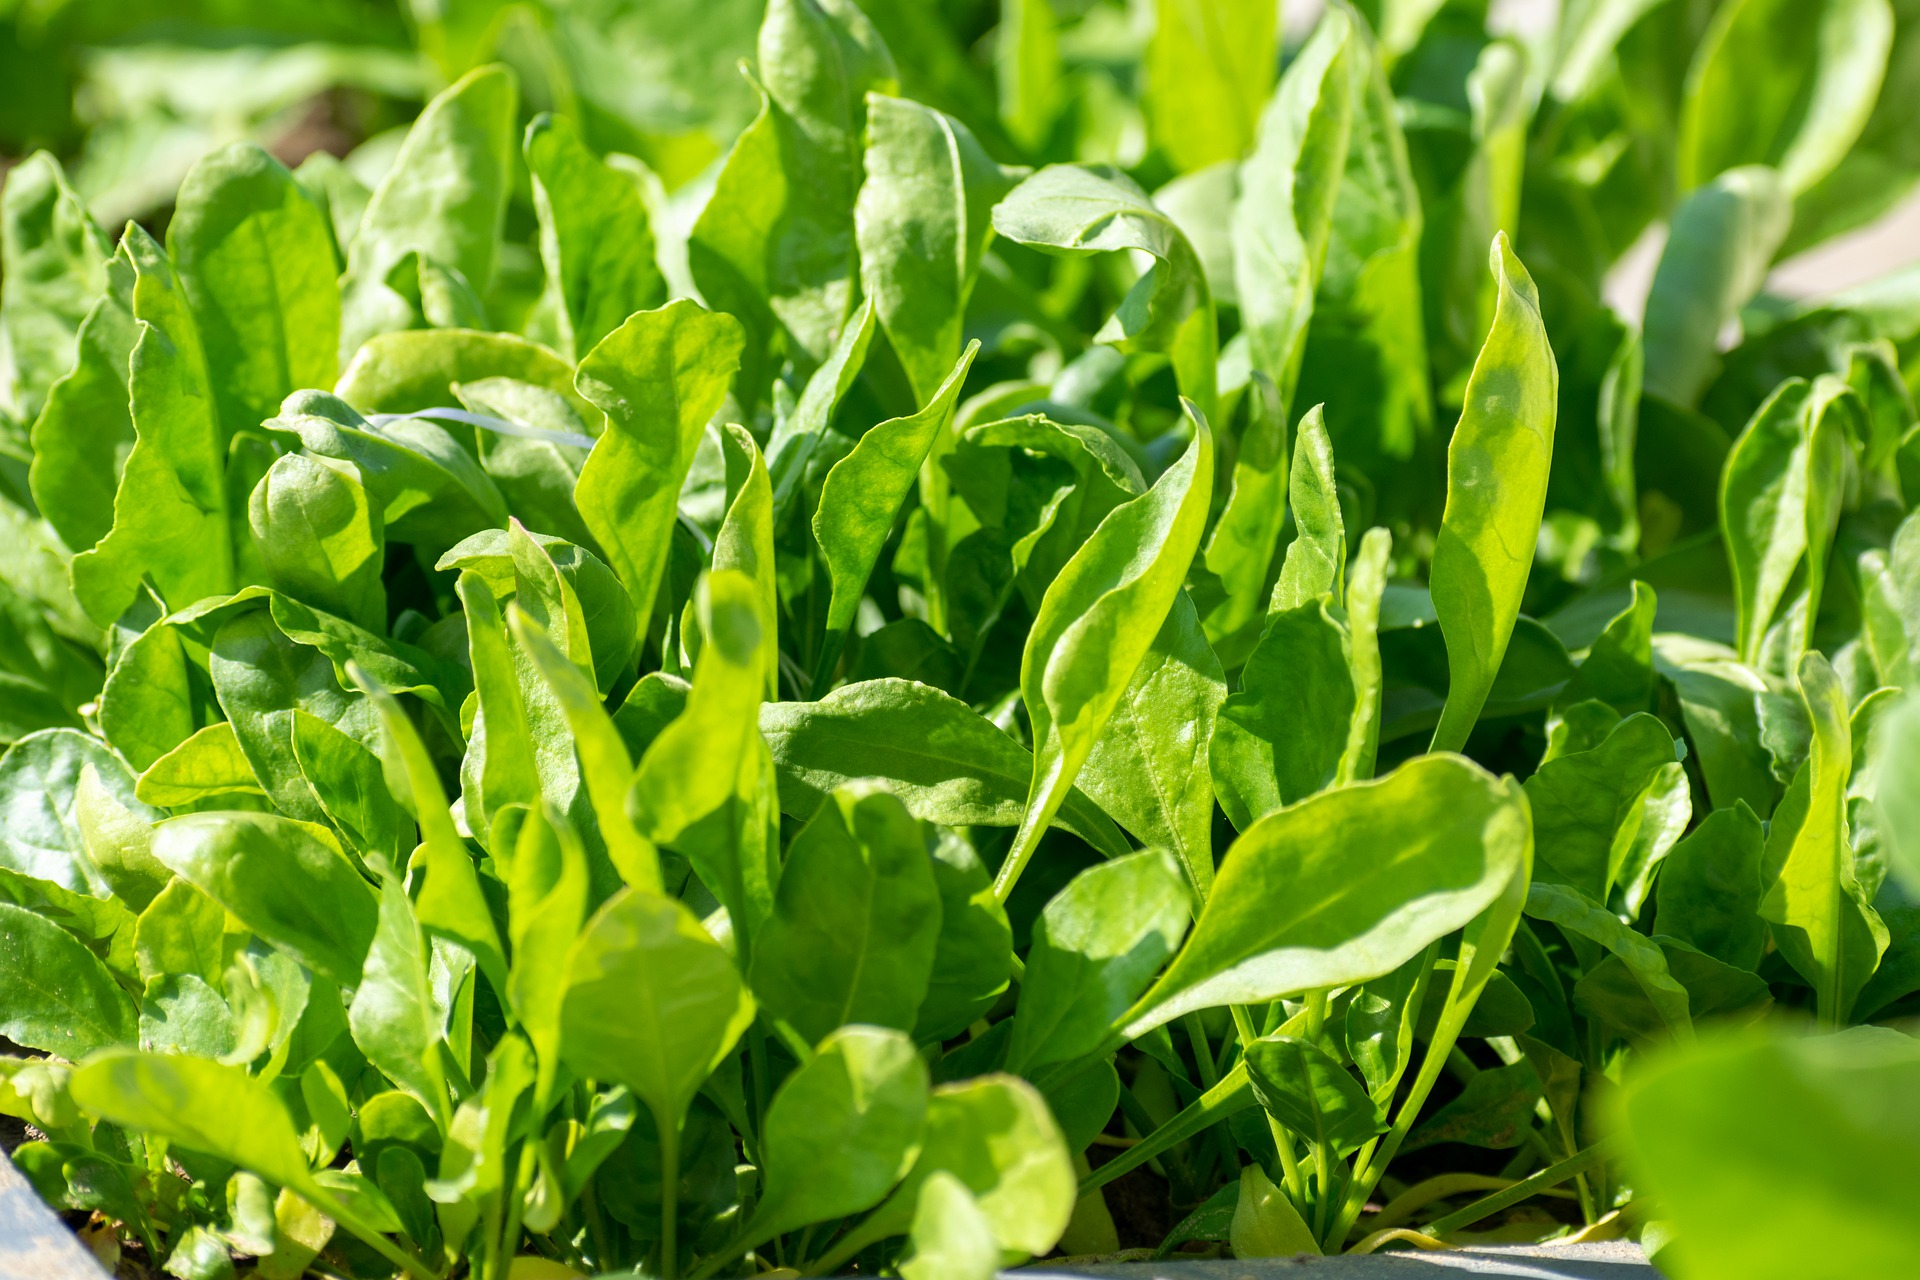
First and foremost, it’s important to know when your spinach is ready to be harvested. Spinach is typically ready for harvest when the leaves are large enough to be picked, but before they start to yellow or bolt. This usually occurs around 40-50 days after planting, depending on the variety. Keep an eye on your plants and look for leaves that are vibrant green and fully developed.
To harvest your spinach, start by using a pair of clean, sharp scissors or garden shears. Carefully snip off the outer leaves, starting from the outside of the plant and working your way inwards. Be sure to leave the inner leaves intact so that they can continue to grow. Harvesting in this manner allows for a continuous supply of fresh spinach throughout the growing season.
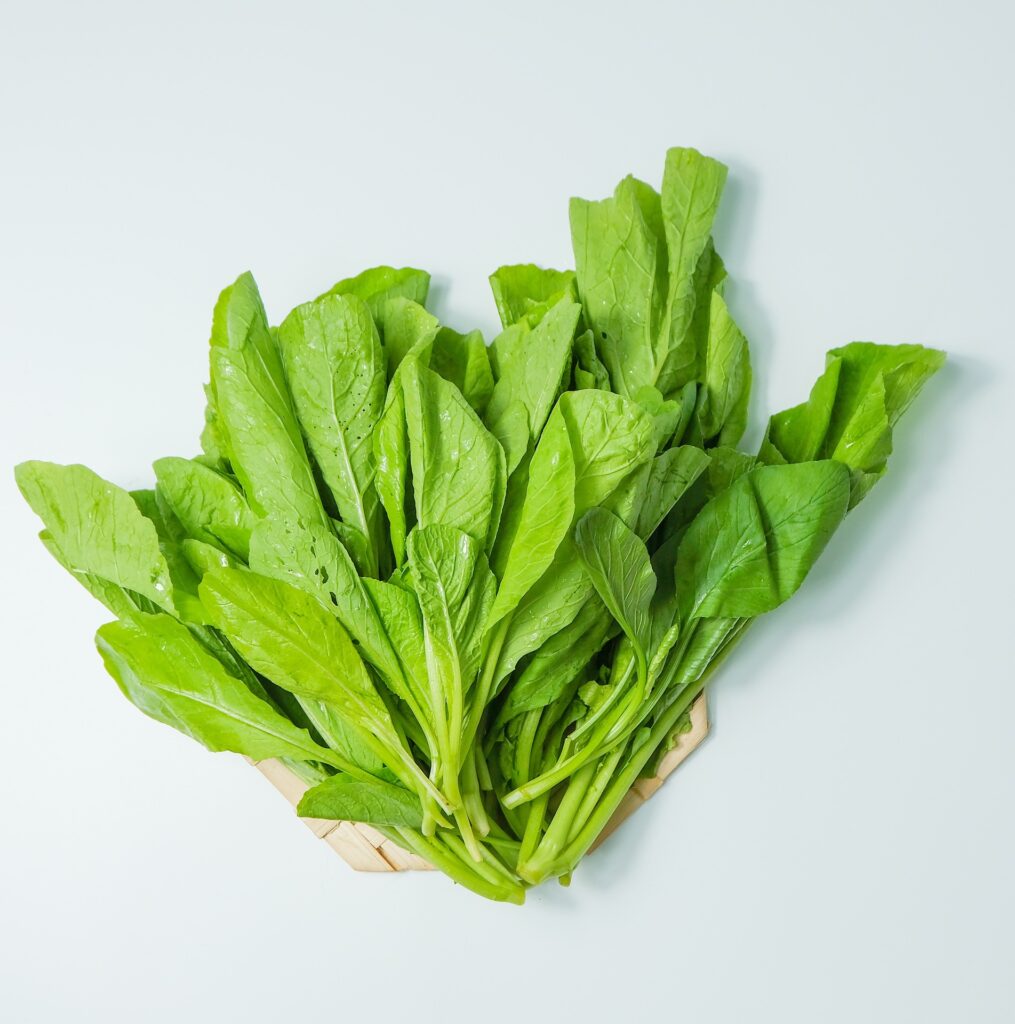
Once you have harvested your spinach, it’s time to give it a good rinse. Fill a large bowl or sink with cold water and gently swish the leaves around to remove any dirt or debris. You may need to repeat this process a few times until the water runs clear. After rinsing, pat the leaves dry with a clean towel or use a salad spinner to remove excess moisture.
Now that your spinach is clean and dry, it’s ready to be used in a variety of delicious dishes. One of the simplest ways to enjoy fresh spinach is in a salad. Tear the leaves into bite-sized pieces and toss them with your favorite dressing and toppings. Spinach also pairs well with fruits, nuts, and cheeses, so feel free to get creative with your salad combinations.
If you prefer cooked spinach, there are numerous recipes to choose from. Sautéed spinach is a popular option that requires minimal effort. Heat a tablespoon of olive oil or butter in a skillet over medium heat, add the spinach, and cook until wilted. Season with salt, pepper, and any other desired spices. Sautéed spinach can be enjoyed as a side dish or used as a topping for pizza, pasta, or omelets.
Another way to use fresh spinach is in smoothies or juices. Simply blend a handful of spinach with your favorite fruits and liquids for a nutritious and refreshing beverage. Spinach can also be added to soups, stews, and stir-fries for an extra boost of vitamins and minerals.
In conclusion, harvesting and using fresh spinach from your home garden is a rewarding experience that allows you to enjoy the fruits of your labor. By following these simple steps, you can ensure that your spinach is harvested at the right time and used in a variety of delicious ways. Whether you prefer it raw in salads or cooked in various dishes, fresh spinach is a versatile and nutritious addition to any meal. So go ahead, harvest your spinach, and let your culinary creativity shine!